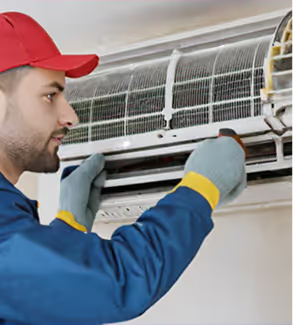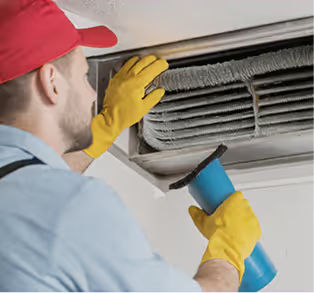


How to Install a UV Light Air Purifier in Your HVAC System

At Adams Heating & Cooling, we mount the UV lamp near the evaporator coil or inside the return-air duct, wire it to your HVAC system's power supply, and seal every seam to prevent light leakage. This seven-step sequence is the same one we follow on every installation across Kalamazoo, MI. As a family-operated company offering round-the-clock emergency service, we recommend professional installation for safety and for the airflow calibration a lamp needs to perform correctly.
UV light air purifier installation involves seven core steps: shutting off power, selecting a placement point near the coil or ductwork, cutting a mounting hole, securing the housing, wiring the fixture, sealing gaps, and restoring power for testing. Our certified team at Adams Heating & Cooling handles each step personally, so the electrical connections stay safe and the germicidal coverage is positioned correctly for cleaner, healthier indoor air.
Key Takeaways
- UV lights kill bacteria, viruses, and mold circulating through your HVAC system. They reach airborne contaminants that a standard filter alone cannot catch, which is why we treat this upgrade as a genuine air-quality investment rather than a cosmetic add-on.
- Adams Heating & Cooling provides round-the-clock emergency service for HVAC installations throughout Kalamazoo, MI. That coverage means a wiring fault or a lamp that fails to power on never has to wait until the next business day.
- Installation involves seven straightforward steps that improve both air quality and system efficiency. We walk every homeowner through each stage in person, so nothing about the process feels like guesswork.
- Our ongoing maintenance plans keep UV lamp performance on track year after year. Enrolling helps homeowners avoid the single most common oversight we see: a bulb that keeps glowing long after it has stopped disinfecting the air.
What Will This UV Light Project Accomplish?
A uv light air purifier installed in your home's ductwork accomplishes one core goal: cleaner air moving through the system every time it runs. We at Adams Heating & Cooling walk every homeowner through what this upgrade actually changes before any tool touches the equipment, because skipping that groundwork risks wasted effort chasing a filter problem when airborne bacteria and mold are the real issue. UV lights kill bacteria, viruses, and mold circulating through an HVAC system, targeting contaminants that filters alone cannot catch.
The upgrade touches three areas of home comfort:
- Air quality — pathogens and mold spores get neutralized before they recirculate through the vents. Over time, that reduces the biological load your family breathes in every day.
- System efficiency — cleaner coils and ductwork reduce strain on the blower and cooling components. A system working less hard also tends to run more predictably season after season.
- Long-term reliability — less biological buildup means fewer surprise breakdowns over time. We see this show up directly in fewer emergency calls from homes with a properly maintained lamp.
Because adding a hvac uv lamp is a relatively straightforward process, homeowners can weigh a self-install against hiring us with real confidence instead of guesswork.
Is installing a UV light in an HVAC system a big project?
No. Installing a germicidal uv light is a relatively straightforward process that improves both air quality and system efficiency. The work usually involves mounting a small lamp housing near the coil or ductwork, then connecting it to power — a task that fits into a single afternoon for anyone comfortable working with basic electrical connections.
What Tools and Materials Should You Gather?
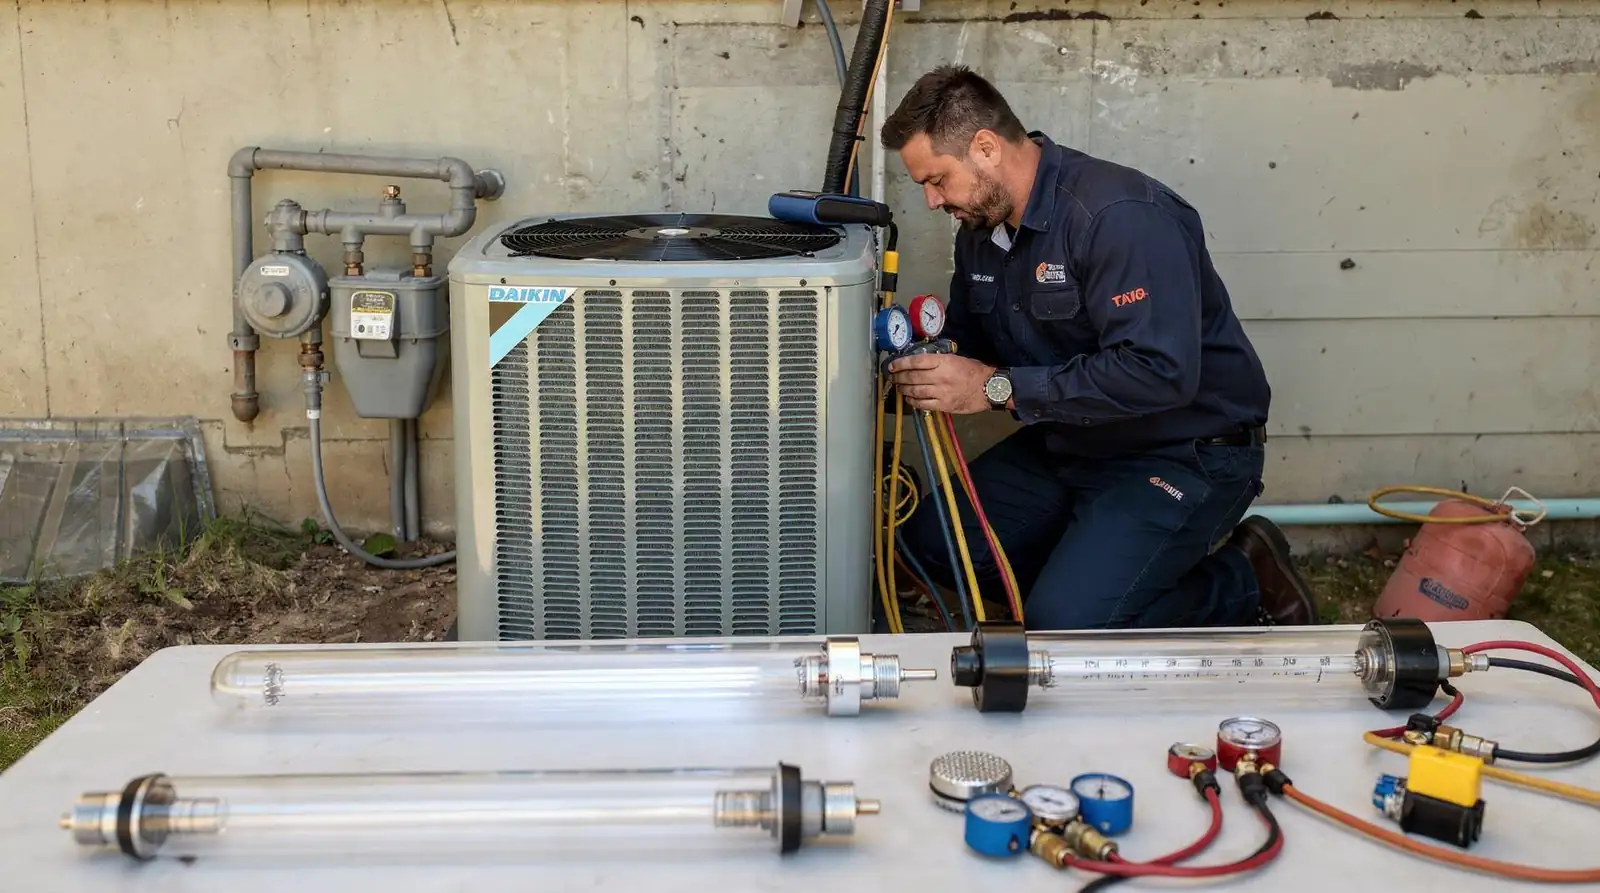
Gathering the right hardware before opening the box saves an entire afternoon of back-and-forth trips to the supply store. We at Adams Heating & Cooling start every project with a structured inspection of the ductwork, coil, and blower compartment, because that assessment determines which mounting hardware, wiring, and lamp actually fit your system. Skipping this step often means buying the wrong bracket or lamp length for the cabinet.
Before drilling into any duct or plenum, we recommend having these items on hand:
- Drill and step bit sized for the lamp housing — the bit needs to match the housing's diameter exactly, or the mounting hole ends up too loose to seal properly.
- Mounting bracket compatible with the plenum or duct location — the wrong bracket style forces awkward angles that reduce UV exposure on the coil or airstream.
- Low-voltage wiring and a dedicated junction box — routing power through a shared circuit rather than a dedicated one increases the risk of nuisance trips and troubleshooting headaches later.
- UV-rated silicone sealant for a moisture-tight seal — standard sealant breaks down faster under UV exposure, so a rated product protects the seal for years rather than months.
- Protective gloves and UV-blocking eyewear — direct UV exposure to skin and eyes during installation can cause real harm, so we treat this gear as non-negotiable.
- A voltage tester to confirm the circuit is de-energized — this single check is what separates a safe installation from a dangerous guess about whether the breaker actually cut power.
Which UV Lamp Type Do I Need?
The lamp type dictates the wiring, socket, and clearance requirements gathered beforehand. HVAC systems generally use one of three hvac uv lamp designs: low-pressure, medium-pressure, or high-pressure mercury-vapor lamps. Low-pressure mercury-vapor lamps remain the most common choice for residential installs, because they balance germicidal output with a compact housing that fits standard duct openings.
Once the right materials are assembled, the installation supports our broader indoor air quality goal: purifying and refreshing household air so families breathe easier every season. A properly matched uv light air purifier setup depends entirely on gathering the correct parts first.
How Do You Choose the Right UV Lamp?
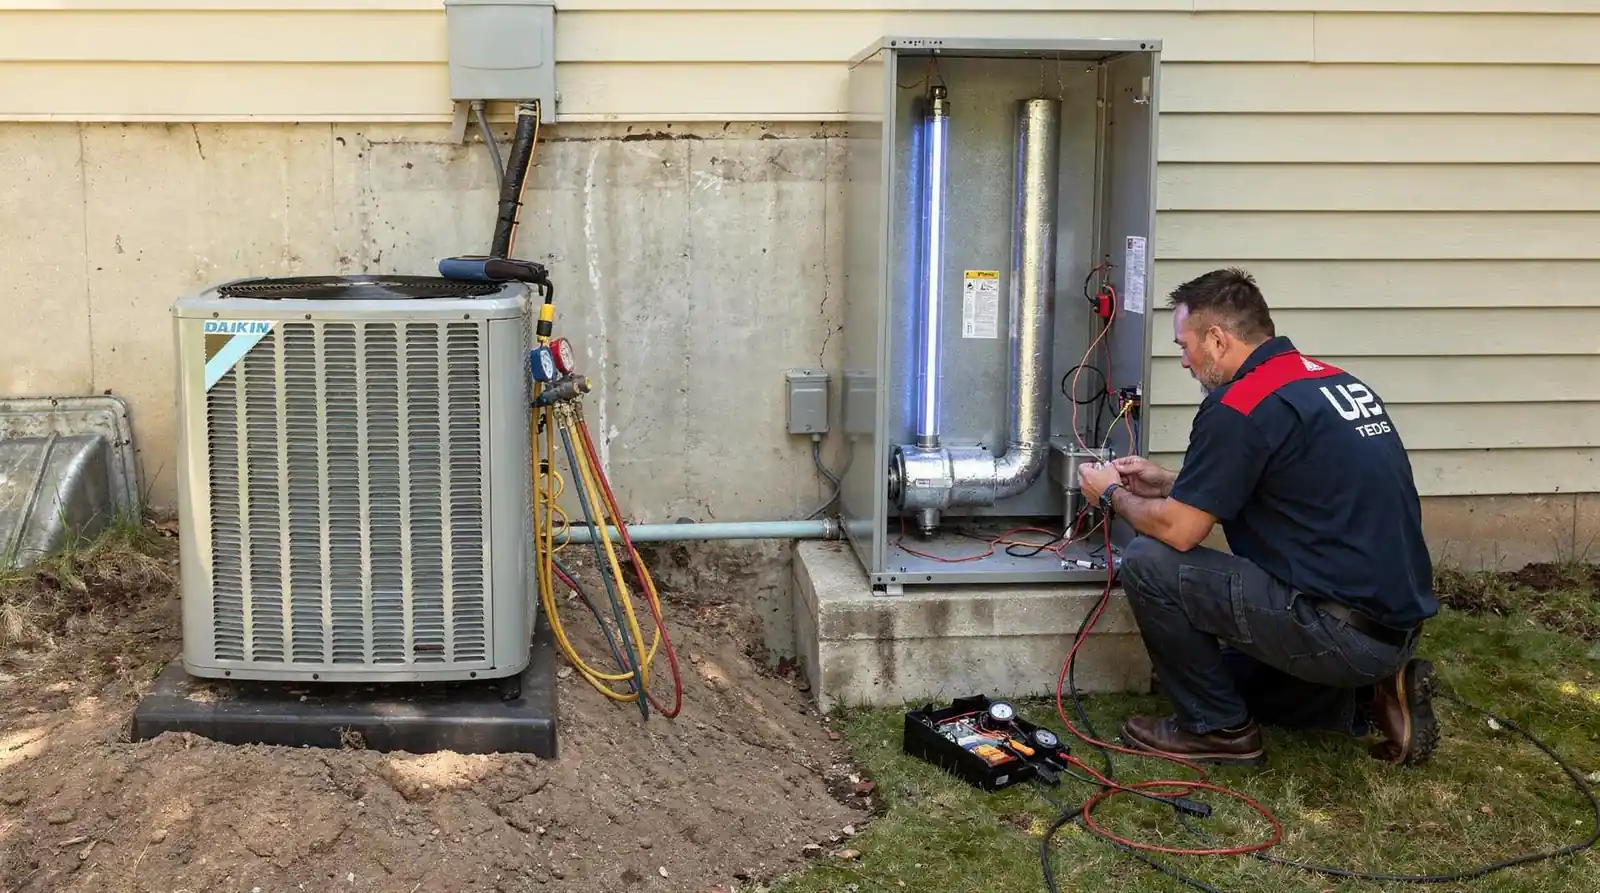
Choosing the right hvac uv lamp starts with understanding what the device actually does. A germicidal uv light is technically a specialized lamp that kills or inactivates microorganisms by destroying their DNA or RNA. Its core function centers on air purification, not general lighting. We walk every homeowner through a few deliberate steps before recommending a specific unit.
- Confirm the purpose. Ultraviolet light in HVAC systems exists to improve indoor air quality, so we start every consultation by identifying whether the goal is airborne pathogen control, mold prevention on coils, or both. That answer shapes every recommendation that follows.
- Check the coverage type. Some systems only treat moving air inside the ductwork, while others extend disinfection to surfaces and objects near the air handler, such as coil housings and drain pans. We confirm which coverage a household actually needs before quoting equipment.
- Match equipment to the system. We size the lamp to the ductwork and air handler configuration rather than picking a generic model off a shelf. A mismatched lamp either underperforms or crowds the cabinet unnecessarily.
- Consider manufacturer support. Our regional partnerships, including our relationship with Daikin, give homeowners access to reliable equipment lines built for long-term performance. That backing matters when a part needs replacing years down the road.
Do UV Lamps Only Clean the Air, or Surfaces Too?
Certain uv light air purifier configurations do more than treat circulating air. Some units also disinfect surfaces and objects positioned near the coil or air handler, adding a layer of protection beyond airflow alone. We factor this dual capability into our recommendations whenever mold growth on components is already a concern.
Does Every HVAC System Need the Same UV Setup?
No two households need identical setups. Duct layout, humidity levels, and existing filtration all influence which lamp configuration performs best. We evaluate each system individually before suggesting equipment, ensuring the final choice supports real air quality goals rather than a one-size-fits-all installation.
Where in the Ductwork Should It Go?
Placement determines whether a hvac uv lamp actually reaches the air moving through the system. Correct positioning brings targeted disinfection directly into the ductwork itself, rather than treating only the air inside a single room. We install these lamps in one of two locations depending on the goal: near the evaporator coil or inside the main supply duct.
Should the light go near the coil or in the duct?
We mount lamps near the evaporator coil when the primary concern is mold and biofilm growth on wet coil surfaces. When the goal is broader air treatment, we position the germicidal uv light inside the main supply duct, where moving air passes directly through the beam. Coil-mounted lamps run continuously, while duct-mounted lamps typically cycle with the blower.
Our process follows a consistent sequence:
- Inspect the coil for existing mold, buildup, or moisture damage. This inspection tells us whether coil placement is even necessary or whether duct placement alone will do.
- Measure the duct section for adequate clearance and airflow width. A cramped section limits both installation options and the lamp's effective coverage.
- Confirm access to a stable power source near the mounting point. Without one, the wiring run becomes longer and riskier than it needs to be.
- Select coil-mount or duct-mount placement based on the inspection. We make this call using what we actually find in your system, not a default assumption.
- Secure the lamp so UVC exposure hits the coil surface or the full air stream. A lamp mounted just slightly out of position can lose most of its germicidal effect.
A uv light air purifier only performs as designed when airflow actually passes through its exposure zone. Placement outside that path wastes the neutralizing effect on airborne microorganisms, VOCs, and allergens. Before any install, we treat duct and coil placement the way we treat any furnace, air conditioner, or heat pump repair: through fast, accurate diagnostics that confirm the right location the first time. That diagnostic step prevents recurring issues and protects the ductwork from unnecessary rework. Because placement errors can occasionally affect airflow or system function after installation, our round-the-clock emergency service remains available to address any fault that arises once the lamp is running.
How Do You Install the UV Lamp Step-by-Step?
Installing a hvac uv lamp requires seven core steps, from powering down the system to confirming the light activates correctly. Skipping any single step risks electrical shock, cracked bulbs, or a lamp that never actually disinfects the airflow. A uv light air purifier kills bacteria, viruses, and mold circulating through ductwork, but only when it's mounted and wired correctly.
Before starting, we gather a few essentials: the UV lamp kit, a drill, wire connectors, safety glasses, and the HVAC system's electrical schematic. We always confirm the breaker controlling the furnace or air handler before touching any wiring.
- Shut off all power to the furnace, air handler, and thermostat at the breaker panel. Skipping this step is the single most common cause of installation injuries we hear about.
- Choose the mounting location, typically near the evaporator coil or inside the main supply plenum where airflow is strongest. The right spot maximizes exposure without blocking airflow.
- Mark and drill the mounting hole, sized to the lamp housing's diameter. An oversized hole is difficult to seal properly later, so precision here saves rework.
- Secure the housing to the duct wall or plenum using the supplied brackets and screws. A loose housing vibrates over time and can eventually fail at the seal.
- Insert the bulb into the housing, avoiding direct contact with bare hands, since skin oils shorten bulb life. We handle bulbs with gloves or the manufacturer's sleeve for this exact reason.
- Connect the wiring to a dedicated power source, following the manufacturer's low-voltage or line-voltage diagram. Mismatched voltage is one of the fastest ways to damage a new lamp.
- Restore power and test the lamp for a visible glow, confirming safe, correct operation before closing the access panel. A dim or absent glow at this stage means something needs a second look before the job is called finished.
We at Adams Heating & Cooling have walked Kalamazoo, MI households through this exact sequence for years, building on the dependable, neighbor-first service our founder established from day one. That history matters here: a germicidal uv light only performs as designed when installation matches the ductwork configuration precisely, and local experience shortens the guesswork.
Can Homeowners Install a UV Light Themselves?
Motivated do-it-yourselfers with electrical experience can complete the seven steps above, provided the breaker is confirmed off and the mounting location matches the manufacturer's airflow requirements. Mistakes at the wiring stage, however, create real risk — shock hazards, tripped breakers, or a lamp that silently fails to disinfect the air. Homeowners uncertain about voltage matching or duct placement gain more protection by scheduling professional installation instead of troubleshooting mid-project.
What Happens After the UV Lamp Is Installed?
Once mounted, the lamp continues destroying airborne bacteria, viruses, and mold spores as they pass through the coil area, working continuously rather than in short bursts. Bulbs typically require periodic replacement to maintain germicidal output, and a hazy or dim glow signals it's time for a swap. If an installation issue surfaces unexpectedly, whether a wiring fault or a lamp that won't power on, our round-the-clock emergency service offers a same-day safeguard rather than leaving a half-finished project overnight.
Following this structured guide delivers cleaner, healthier indoor air without shortcuts. Each step builds on the last, and none should be skipped for the sake of speed.
How Do You Wire and Power It Safely?
Safe electrical connection determines whether a uv light air purifier actually delivers cleaner indoor air or becomes a hidden hazard inside the ductwork. Correct wiring matters because the primary benefit of a hvac uv lamp is improved air quality, and that benefit only holds if the connection is stable and code-compliant. We treat this step with the same rigor our team applies to every furnace and air conditioner repair: accurate diagnostics first, durable work second.
Before touching any wires, we confirm the system is fully powered down at the breaker, not just at the thermostat. We also verify the lamp's voltage rating matches the HVAC transformer output.
- Shut off power at the breaker and the furnace disconnect switch. Checking both points, not just one, is what actually guarantees the circuit is dead.
- Mount the germicidal uv light bracket near the coil, following the manufacturer's clearance specs. Crowding the bracket against other components restricts both airflow and future service access.
- Run the low-voltage wiring to the transformer or a dedicated tap, avoiding sharp duct edges. A nicked wire jacket today becomes a short circuit months from now.
- Secure connections with wire nuts rated for the lamp's amperage. Undersized connectors overheat and can work themselves loose over time.
- Install an access-panel interlock switch so the lamp shuts off automatically when the panel opens. This single safeguard is what protects anyone who opens the cabinet later without knowing the lamp is live.
- Restore power and test the lamp's glow through the viewing port. A weak or flickering glow at this stage usually points to a connection worth rechecking.
- Recheck all seals to keep pathogens from leaking past the cabinet, since unsealed gaps let allergens, asthma triggers, and respiratory irritants circulate even after installation. We treat this final seal check as just as important as the wiring itself.
What If the Lamp Won't Power On After Wiring?
A dead lamp after installation usually points to a blown low-voltage fuse or a mismatched transformer tap. We recommend checking the interlock switch position before assuming lamp failure. If troubleshooting stalls, our round-the-clock emergency service is available for wiring questions or unexpected system faults.
Should You DIY the Install or Call a Pro?
Homeowners weighing a uv light air purifier installation face a real tradeoff between weekend DIY savings and professional peace of mind. Skipping proper setup risks poor placement, wasted UV output, and a system that never delivers the clean-air results homeowners expect. We at Adams Heating & Cooling, a locally owned, family-operated company, give Kalamazoo, MI homeowners a trusted local option instead of guessing through a self-install.
Our HVAC repair work focuses on accurate diagnostics and durable repairs for furnaces, air conditioners, heat pumps, and ductless systems. That approach minimizes downtime and prevents the recurring breakdowns that a rushed, poorly wired hvac uv lamp installation can trigger. Indoor air often holds more contaminants than outdoor air, which raises the stakes of getting the job right the first time.
Is a UV Light Installation Something a Homeowner Can Handle Alone?
Homeowners with electrical experience and comfort working inside ductwork may attempt a basic install. However, a germicidal uv light requires correct positioning near the coil or ductwork, proper electrical connections, and safety precautions for the UV bulb itself. Mistakes here reduce effectiveness or damage system components.
What Does Professional Installation Add That DIY Doesn't?
Professional service adds ongoing oversight beyond the install date. Our maintenance plans include system checks that catch UV lamp issues early, before they compromise air quality or HVAC performance.
We recommend professional installation for lasting results.
How Do You Maintain It and Avoid Mistakes?
Regular inspection, timely bulb replacement, and a professional tune-up keep a germicidal uv light performing at full strength. Skipping any of these steps lets dust, mold spores, pet dander, and airborne pathogens build back up inside ductwork, and these pollutants are far more common in the average home than most homeowners realize. We recommend a set maintenance routine rather than waiting for a problem to surface.
Follow these steps each cooling season:
- Inspect the hvac uv lamp housing for dust buildup or cracked casing. A cracked housing lets stray UV light leak out, which is both a safety issue and a sign the unit needs attention.
- Check the bulb for visible dimming or discoloration. A bulb that looks noticeably duller than when it was installed has usually already lost much of its disinfecting power.
- Wipe the quartz sleeve clean to keep germicidal output steady. Dust and film on the sleeve block UV output even when the bulb itself is still functioning.
- Replace the bulb on schedule, even if it still glows. A glowing bulb can still be producing far less germicidal UV than a fresh one.
- Schedule a professional inspection to confirm proper airflow and wiring. We catch issues during these visits that are easy to miss without the right tools.
How often should the UV lamp get replaced?
Low-pressure mercury vapor lamps, the most common type installed in home systems, need replacement on a set yearly cycle. Forgetting this single step is the mistake we see most often, because a lamp keeps glowing long after it stops producing effective disinfection. Marking a replacement date on the calendar prevents this oversight.
What happens if a maintenance oversight causes a breakdown?
We provide round-the-clock emergency service for exactly this situation. If a missed lamp change or wiring issue causes the uv light air purifier system to malfunction, our team responds promptly. Enrolling in one of our maintenance plans keeps these checks on schedule and helps homeowners avoid missed replacement windows altogether.
FAQ
Is installing a UV light air purifier a complicated project?
No. It's a relatively straightforward process involving mounting a small lamp housing near the coil or ductwork, then connecting it to power. It fits into a single afternoon for most homeowners.
Where do technicians mount the UV lamp in an HVAC system?
We mount the UV lamp near the evaporator coil or inside the return-air duct, then wire it to the HVAC system's power supply and seal all seams to prevent light leakage.
Should homeowners hire a professional for UV light installation?
Adams Heating & Cooling recommends professional installation for safety and proper airflow calibration, with our certified team handling wiring, sealing, and germicidal coverage throughout the process.
Ready to Breathe Cleaner Air?
We've walked through every step of installing a UV light air purifier, but the safest, most reliable path is still having our certified team handle the wiring, placement, and testing for you. If you're in Kalamazoo, MI and ready to add a UV light air purifier to your HVAC system, or you'd simply like us to inspect your ductwork and recommend the right setup, reach out to Adams Heating & Cooling and we'll get your project scheduled.
Customer Testimonials

In the past 18 months, Adams has installed a new Amana air conditioning system, and new filtration and humidification systems at my home. The installers were all very courteous, professional and knowledgeable. Their work was simply superb... reasonably priced, and performed on time and to perfection! I enthusiastically recommend Adams, without reservation!
As usual, Adams Heating and Cooling exceeded our expectations. The quote was done in a timely manner, pricing was fair, installation was quick and the job was done right! Rob is great to work with. Adams is first on our list!
Called these guys off of a referral from a friend. Home furnace failure in sub-zero temperatures, late at night. Dan was there in an hour. Friendly, polite, professional and most importantly, very competent. Diagnosed and fixed the problem in under an hour. After hours 24/7 pricing was surprisingly reasonable. This outfit gets straight A+ from us.
Excellent service! We had them replace our heater, AC, and water heater as a package deal. They even helped with financing as it was a large expense to address at one time. It left us with peace of mind that all the mechanicals in our home were new!
They have always been there for us and did so again by responding quickly to put in a new furnace after a lighting strike caused a power surge. In addition, their electrician came by to help with other issues caused by the strike. Everyone we work with from the who answers the phone to who shows up to complete the work are polite, pleasant and professional! And quick to respond and on time!
From the service call to the installation with Dan, Dave, and Daniel… our experience was top notch. They quickly came out, identified the problem, and installation of our new unit took less than 3 hours. Can’t recommend Adams enough!
Dan, Dave and Mike were phenomenal! Very patient, listened to my questions/concerns, and made sure that everything was working and that my Nest was working correctly, before leaving. Thank you so much for your service!
Service was excellent! Had a new furnace installed. The technicians did a wonderful job and completed the installation quickly. Mike answered my questions and followed up to verify the worke done. I was charged just as I was quoted. Have used Adam's for repairs in the past and I'm always pleased. Great work!
I had a boiler and water heater replacement/upgrade. I went from an 84% efficient boiler to a 95% efficient. I dont recall the water heater's efficiency. That was upgraded to an indirect water heater. Josh and Brad did a great job. The work looks great. The boiler and water heater work as to be expected. Their customer service is excellent. I will definitely be calling then when my basement remodel is ready to start.
I have had Adam's Heating and Cooling out at my house before, so I called them for some gas line work. The estimator was very helpful and let me know the best way to be ready for when the work is scheduled so they can test the generator after they install the gas line to the meter and also let me know how to take care of another issue I had that would be helpful. I look forward to getting this work done and working with them.

Financing
Flexible financing options are available to help you get the comfort you need without the upfront financial stress.